WordPress Clone an Instance: Difference between revisions
m Стадий: 4 [Фаза:Авторизиране, Статус:Разработен]; Категория:WordPress |
m Стадий: 6 [Фаза:Утвърждаване, Статус:Утвърден]; Категория:WordPress |
||
| (One intermediate revision by the same user not shown) | |||
| Line 64: | Line 64: | ||
{{devStage | {{devStage | ||
| Прндл = WordPress | | Прндл = WordPress | ||
| Стадий = | | Стадий = 6 | ||
| Фаза = | | Фаза = Утвърждаване | ||
| Статус = | | Статус = Утвърден | ||
| ИдтПт = Spas | | ИдтПт = Spas | ||
| РзбПт = Spas | | РзбПт = Spas | ||
| АвтПт = | | АвтПт = Spas | ||
| УтвПт = | | УтвПт = {{REVISIONUSER}} | ||
| ИдтДт = 17.06.2022 | | ИдтДт = 17.06.2022 | ||
| РзбДт = 9.09.2022 | | РзбДт = 9.09.2022 | ||
| АвтДт = | | АвтДт = 9.09.2022 | ||
| УтвДт = | | УтвДт = {{Today}} | ||
| ИдтРв = [[Special:Permalink/25834|25834]] | | ИдтРв = [[Special:Permalink/25834|25834]] | ||
| РзбРв = [[Special:Permalink/31386|31386]] | | РзбРв = [[Special:Permalink/31386|31386]] | ||
| АвтРв = | | АвтРв = [[Special:Permalink/31389|31389]] | ||
| РзАРв = [[Special:Permalink/25838|25838]] | | РзАРв = [[Special:Permalink/25838|25838]] | ||
| УтвРв = {{REVISIONID}} | |||
| РзУРв = [[Special:Permalink/25840|25840]] | | РзУРв = [[Special:Permalink/25840|25840]] | ||
}} | }} | ||
</div> | </div> | ||
</noinclude> | </noinclude> | ||
Latest revision as of 10:22, 9 September 2022
By a Plugin
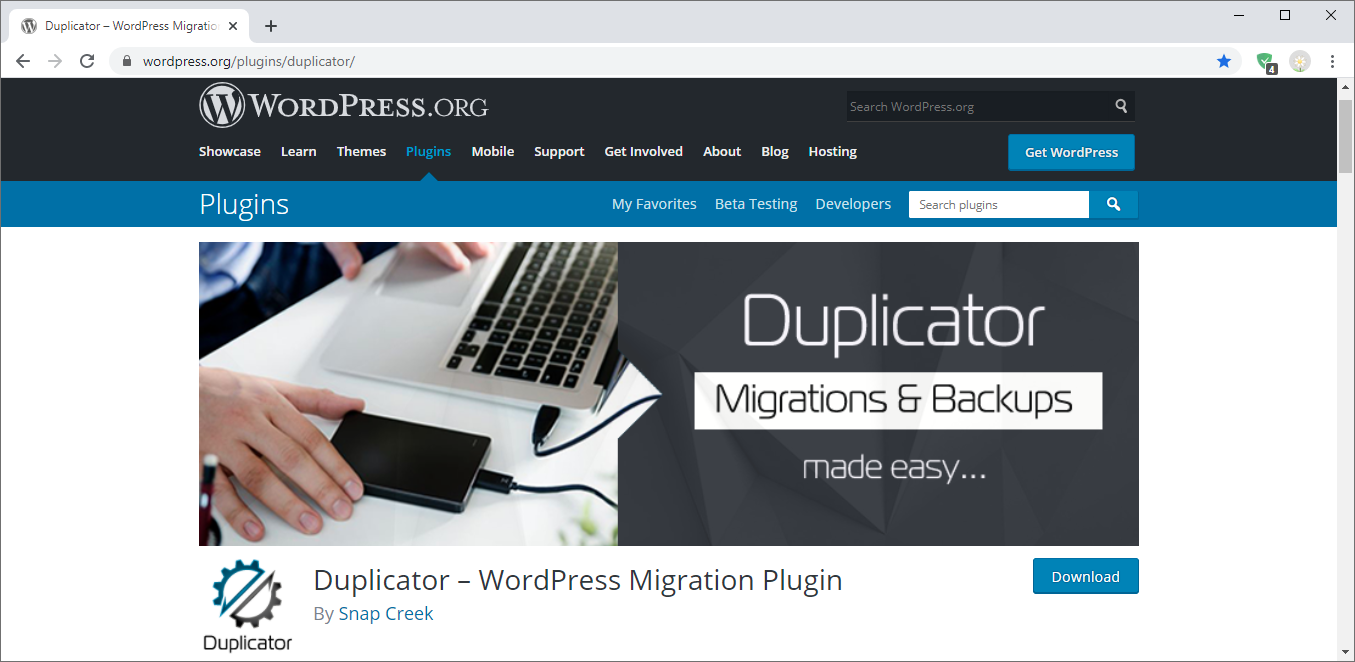
An easy and robust way to Clone an WordPress Instance is to use the WordPress migration plugin Duplicator , provided by Snap Creek. There are few easy steps you need to do.
- Install the plugin at the source WordPress site.
- Go to the admin menu item "Duplicator" and pass through the three easy steps process in order to "Create new Package".
- Download the newly created
<package>.zipand theinstaller.phpfile. - Setup a new Virtual Host and new a Database for the destination site.
- Place
<package>.zipandinstaller.phpinto the DocumentRoot directory of the new Virtual Host. - Access
https://destination.example.com/installer.phpvia the web browser and follow the provided steps.
Optionally, if you need to clone the site at the same server, yo do not need to download the <package>.zip file, it is located into the directory wp-content/backups-dup-lite/.
One you finish you must cleanup the source and the destination site directories. One way is by using the command line:
# remove 'echo' in order to do the actual changes
sudo find /var/www -type f -name '<package>.*' -exec echo rm {} \;
Further, for these who don't have the pro version, they can chance the database prefix of the new instance by the help of the plugin Brozzme DB Prefix & Tools Addons (tested on WP 5.7.2).
Via the Command-line
Prepare a backup
1. Create an archive of the document root of the instance.
2. Export the existing database – by WP-CLI: wp db export. This command will export the database in SQL format.
Prepare a New Virtual Host
3. Prepare a new virtual host within the web server's configuration at the destination instance.
Deploy the backup
4. Move the archive to the destination instance and extract it to the new document root.
5. Prepare new empty MySQL data base and import the SQL file. Create also database user and grant it all privileges to the new database.
6. Import the data base in MySQL.
7. Edit wp-config.php within the new document root, change the database name, database user and its password – it its necessary.
8. Edit functions.php of the active theme and add the following lines at the beginning of the file.
<?php
update_option( 'siteurl', 'https://new-fqdn.example.com' );
update_option( 'home', 'https://new-fqdn.example.com' );
9. Access the new instance via the web interface. Thus the above PHP functions will be activated and will update the site URL within the database.
10. Remove the lines added at the beginning of the functions.php file.
11. Use WP-CLI to do additional replaces within the database – reference.
wp search-replace 'old-fqdn.example.com' 'new-fqdn.example.com' --dry-run
12. Use grep, sed, xargs to do the same replaces within the new instance document root – if this is necessary, i.e.: some extensions writes their in their cache hardheaded URLs, etc.
13. Login to the new WordPress instance and inspect weather everything is correct. If you do not have an account you can create on via WP-CLI: sudo -u www-data wp user create newUser example@email.com --role=administrator
References
- Snap Creek: Duplicator For WordPress – Quick Start
- WP Staging: 3 Ways to Change the WordPress Database Table Prefix
- WordPress: Changing The Site URL via WP-CLI
- WP Beaches: Change WordPress Domain URL with WP-CLI Tool
- WordPress: WP-CLI > wp user create
